After choosing "PeekMed DICOM samples", "DICOM images", "DICOM images from PACS", "DICOM images from CD" or "Conventional images", you must select the medical images for planning in what we call the Selection View.
All patients are listed on the left side of the window. Clicking on each of them allows you to view the imported images that belong to each study.
Make sure that you import data from the correct patient, and use the correct image from the correct patient. You can add more images to the list on the left side by clicking “Add more DICOM images” or “Add more images” (if working with conventional images) at the bottom left corner of the window. It is possible to add DICOM images from a Folder, Image library or PACS.
You can adjust the Zoom, Window level and Invert color before you add the image. The window level you set here and the color inversion will be carried to your planning window.
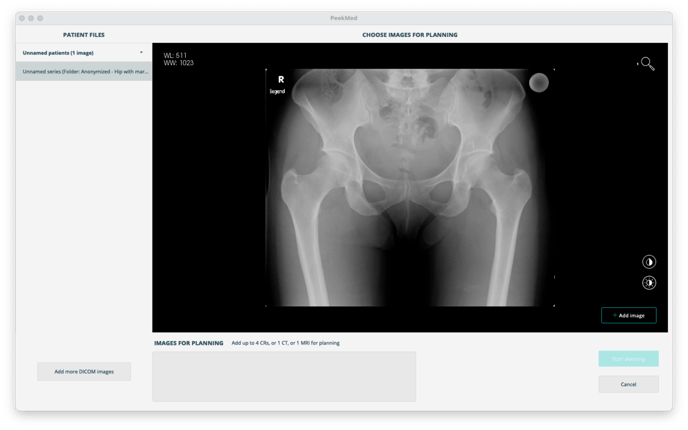
To select an image to work with you must select said image on the list on the left side and then click the “Add Image” button at the bottom of the 2D viewer.
Adding images is restricted to a four image (CR or conventional images) limit per planning. CT scans and MRIs only allow the selection of one image.
If you want to remove an image, just click on the button X that appears at the upper right-hand corner of the desired image..gif?width=600&height=365&name=ezgif.com-video-to-gif%20(1).gif)
When all the images are selected and you are ready to start planning you just have to click the “Start planning” button.